
BUT! I felt like a challenge. I built one a couple of years ago with some degree of success (maybe I got lucky) and now I was on a mission to prove once and for all that it can be turned into a presentable model. I decided to go for the grey/green RAF camouflage since I think this plane looks best in that scheme. The downside is that meant using the kit decals, since unless you want the "Desert Storm" colour scheme, third party decals are very hard to come by. Would the register problems be present in this batch? I would soon find out.

So I started with the cockpit, as ever. The kit parts for the seats are actually not that bad as these things go, and would probably paint up very presentably, but I had the Pavla resin ones so I left these out. Otherwise, the cockpit is very basic and (horror!) relies on decals for the controls. I wish manufacturers would not do this - you can maybe get away with it in small WWII fighters but in a plane with so much cockpit real estate it is simply horrible. However, I installed them since then the dials would show through the Airwaves etch detail, and this worked pretty well. I left the seats out altogether for now. The etch, once painted up, actually gives just the right amount of detail and dimension to the result, which I was very pleased with.
So the next few hours were spent filling, grinding and sanding away at the fuselage to blend the halves together. This is a job I hate, its messy and unrewarding, and those seams NEVER seem to disappear. But eventually I got there and was not at all unhappy with the result. The next stage was to attach the air intakes, which needed some serious surgery and much more sanding and filling to even remotely line up with the fuselage. But again, bloody minded persistence paid off. Same story with the tail pipes.

The tail section went on without trouble, but with horrendous gaps that needed more careful filling and sanding. A final overall sanding, re-scribing and washing, and with the canopy masked, she was ready for initial painting. I painted the intake edges and wing leading edges with Alclad aluminium and masked them off.
I gave an overall coat of dark sea grey and was pleasantly surprised at how few flaws were revealed. A couple of areas needed some extra filling and re-painting but otherwise it was starting to look rather good. I toyed with the idea of painting the green markings on freehand, since I was baulking at the prospect of masking the "all over" scheme required. In the end I bit the bullet and got through an enormous amount of Blu-Tack and masking tape, before finally spraying all over in an equal mix of Tamiya Black Green and Flat Green. I find this combination represents the RAF green rather well. Masks removed, she was starting to look the part. A couple of coats of Klear and all was ready for decals.

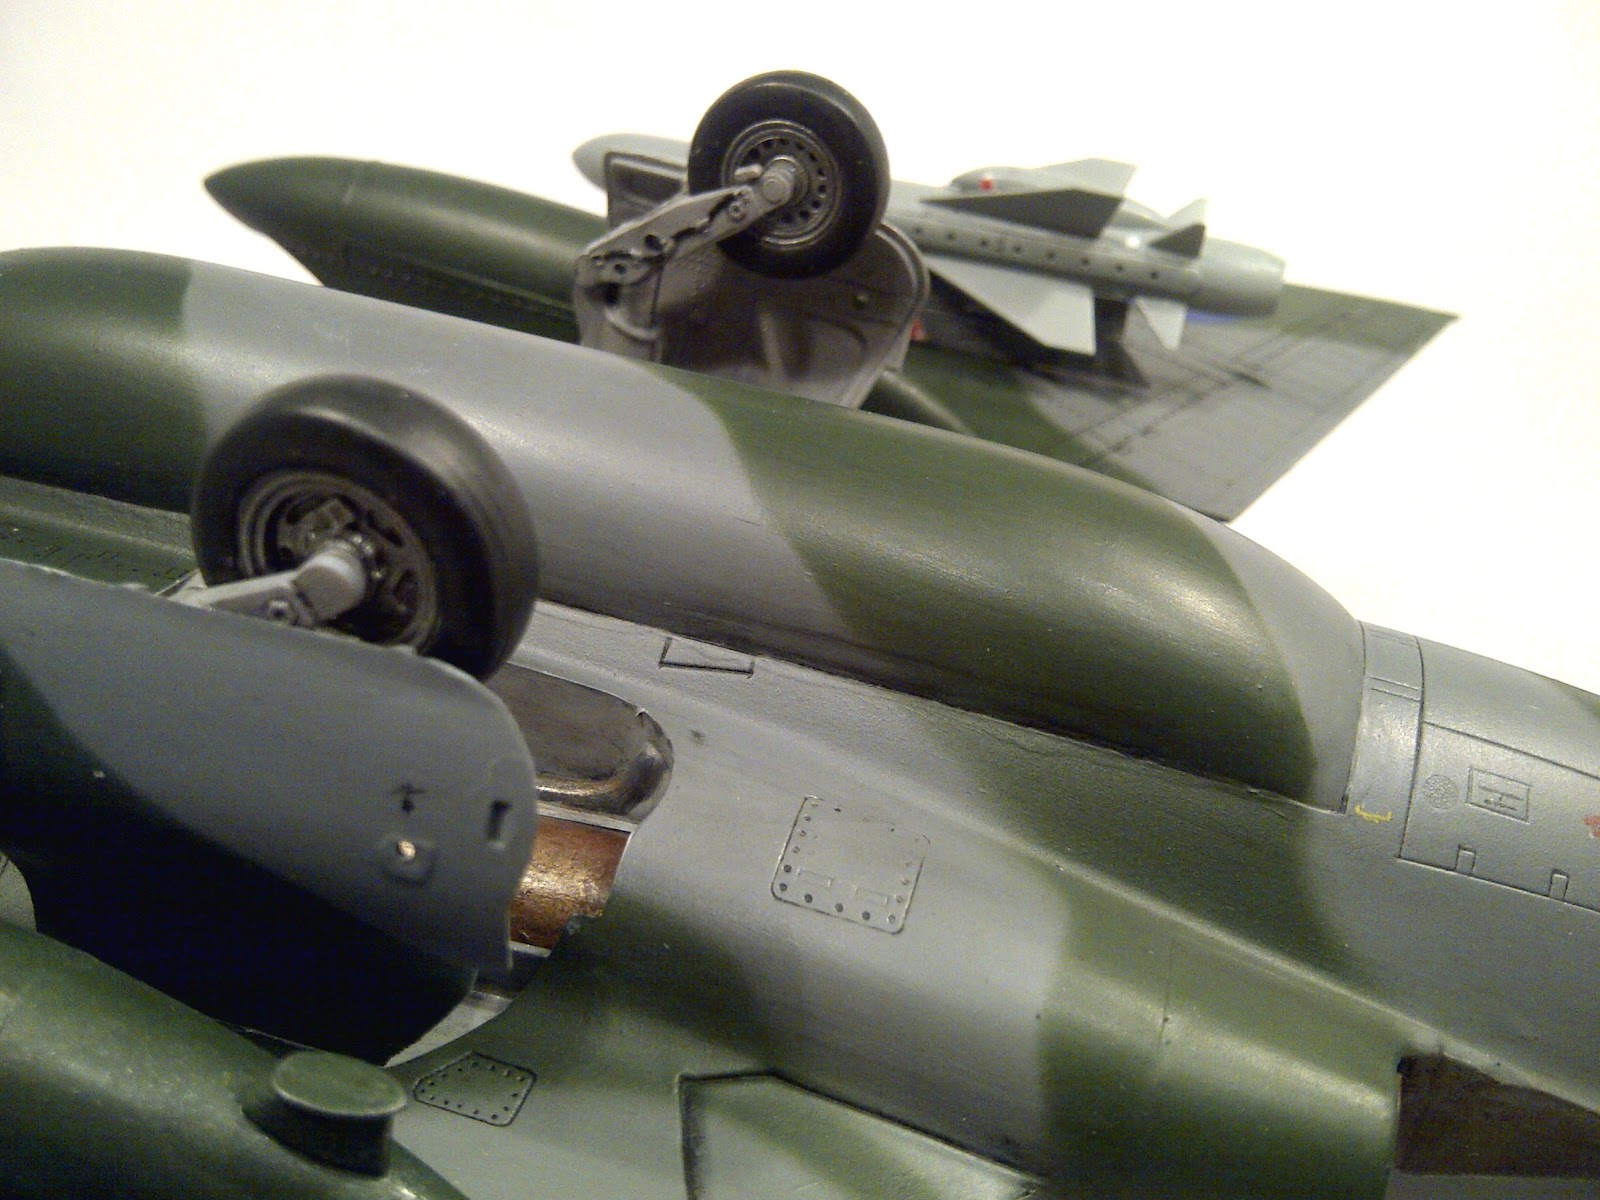
The undercarriage is pretty straightforward, but actually is a very good representation of the real thing. These were all sprayed light grey and likewise the wells on the plane. The wells are actually very sparse, and in an ideal world could do with some extra detailing, but in the end I painted in the engine housing and pipe and was pretty happy that it would stand up to reasonable scrutiny.

I had been saving the resin seats for the finale, as I really enjoy the way that resin seats come to life with a dab of paint. They did not disappoint and after an enjoyable hour or two they really looked the part. These then dropped in to the cockpit tub with no problems.
I am actually very pleased with the overall result, and this much maligned kit is definitely capable of being turned into a fine representation of this beautiful aircraft. I think so anyway - many people think it looks like a banana but to me it is one of the best looking planes every put together. Along with its contemporaries like the Hunter this is a product of an era when it seems to me that designers really did care about making attractive machines.
So this kit can be conquered and I shall be less fearful of building another in the future. But please, somebody produce some decent decals for it!


Stunning.
ReplyDelete