
Having checked in the box, we have some lovely moldings, crisp and clean and it oozes quality. I hope this proves to still be the case once building starts.
As ever, the cockpit comes first. This is based on a pretty much blank tub structure that has all the relevant panels then affixed to it. The panels and dashboard are beautifully crafted. No need for etch or resin replacements here, just some gentle dry brushing and picking out some of the details with a fine brush. A blob of clear varnish on the dials completed a very convincing office layout. Similarly, the seats are wonderfully moulded, needing only the usual addition of belts which I sourced from some spare Eduard offerings in the spares drawer. I chose to leave off the canopy brackets until later, as these would undoubtedly become casualties during the rest of the build.

The main part of the fuselage goes together next. There were no real fit problems but I felt that the rather large number of pieces needed to create the air intakes was excessive with no apparent reason. The kit provides a small number of etched parts, two of which represent grills within the intakes. Again, this is probably over engineered as the desired effect could have easily been moulded and it just adds something else to get fitting right - but mine is not to reason why, and I cannot fault the overall fit of the plastic parts. The elevators are designed to be movable but personally I can't be doing with that sort of thing so I set them flat and glued them in place. The wings are intrinsically part of the body in the kit so no problems with getting those right.

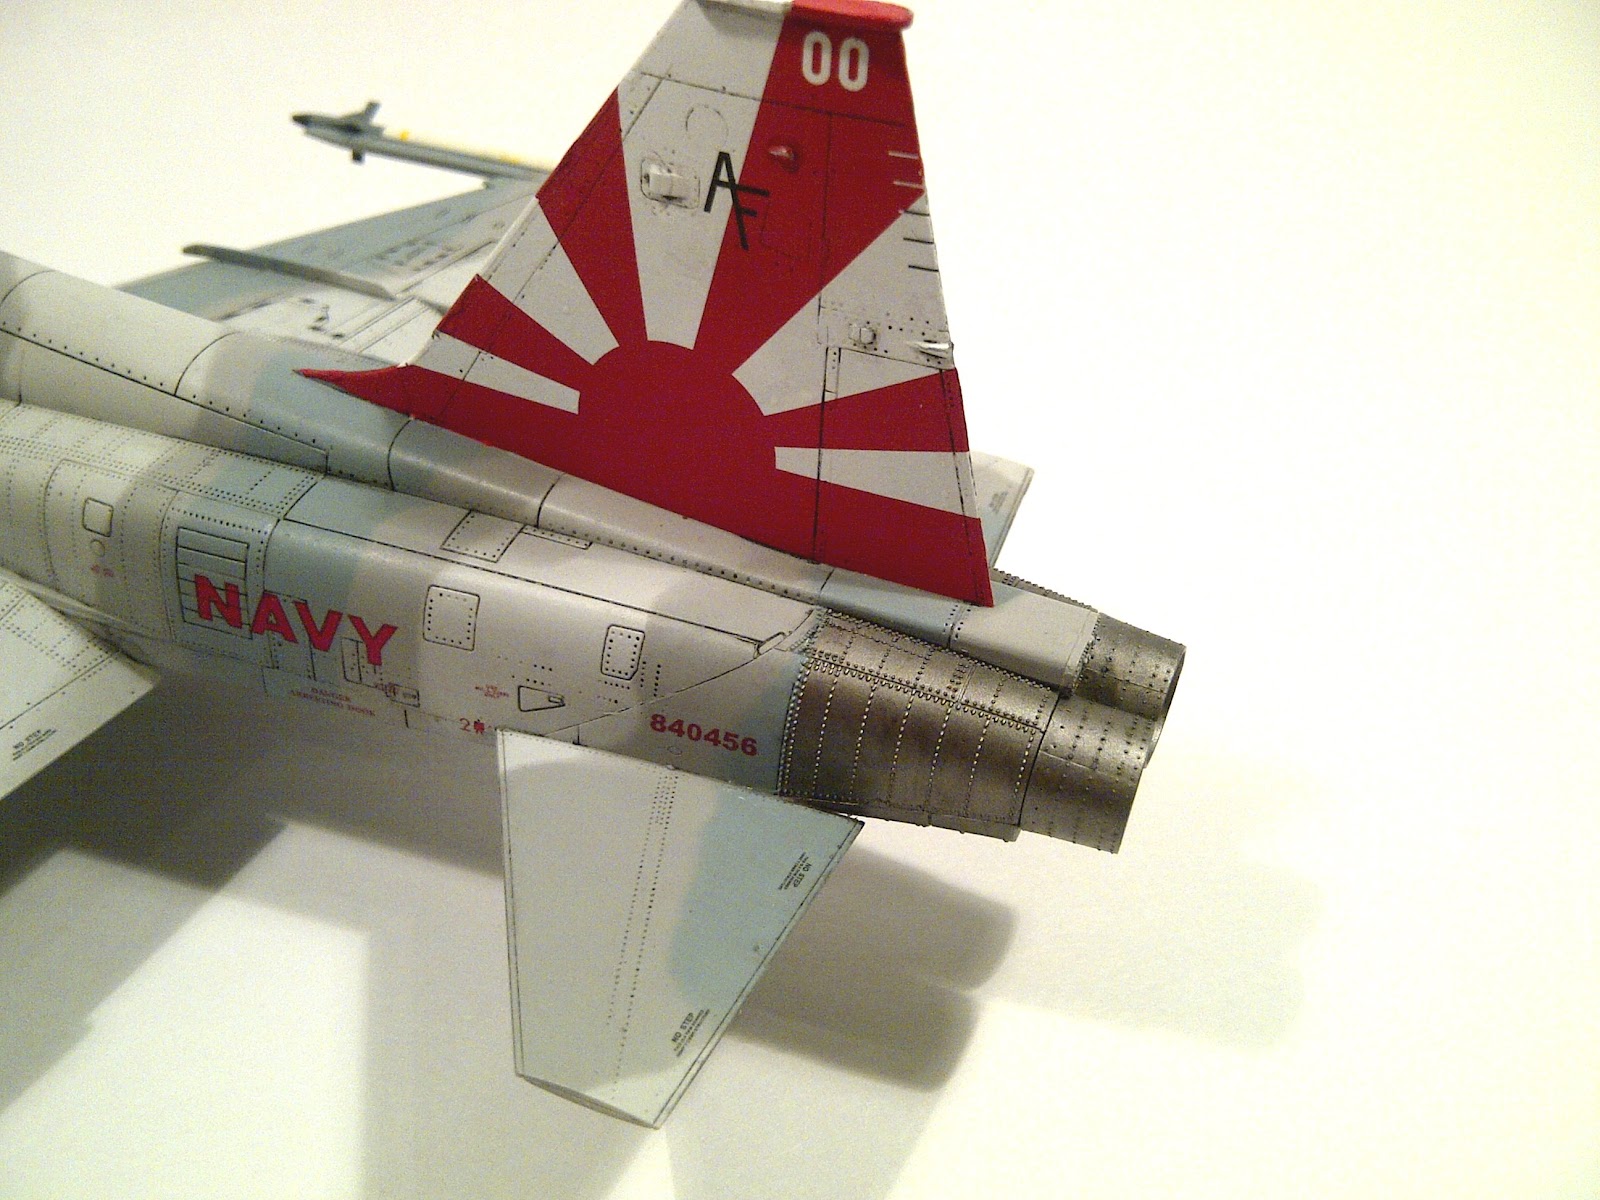
I masked off the canopies and glued the front section in to place, then blu-tacked the two removable sections on to save having to mask the cockpit and to ensure accurate painting across them. After a quick rub down she was ready for painting. I sprayed the black nose cone first, then the rear section and tail pipes using a mix of Aclads, then masked these off. The chosen scheme required a three colour pattern - always a challenge. I mixed up the three colours all based on Tamiya XF-19 (Sky Grey) to maintain consistency. The lightest one went on first as a base. This showed up a few rifts around the intakes which I had to deal with, but otherwise fine. There then followed the tedious task of blu tack masking once, followed by the mid grey, and then again to get the last colour on. A very tedious and time consuming process, but the end result was worth it. The moment the masks come off is always one of my favourite points in the build, and when this scheme was revealed in its glory I was extremely pleased with the result. After drying, a couple of coats of Klear were applied and set aside to cure.

 Another coat of Klear and whilst that dried, I set about the remaining bits and pieces, although since the undercarriage mostly needs to be fixed to the body there was not much to do except paint the parts up. I must say that the undercarriage and air brake doors are beautifully thin which makes them look so much more convincing than the chunky slabs one tends to get on most kits. I also put together and finished the external fuel tank, which I had decided to use, and the two sidewinders. The latter were not strictly called for in this version, but they were on the sprue and I thought they were far preferable to the orange pod that the instructions called for.
I gave the plane a dark grey oil wash which brought out the fine surface detail in this kit brilliantly, coated it with my Klear/flat base mix and attached the undercarriage and ordnance. That just left the canopies, which proved to be probably the trickiest part of the build. I had left them off from the initial cockpit build and getting the brackets in place and firmly attached to the canopies, and getting the whole thing lined up correctly, was something of a battle - but eventually I prevailed. Just the addition of the pilots ladders, which are always a really nice touch and she was finished.
I was extremely pleased with the result, with the exception of the decals, kits don't come much better than this one. Excellent engineering and fit and I will definitely be building another one of these in the future, although next time I'll probably try a single seater!


No comments:
Post a Comment